How to Make Custom Boxes for Shipping? | Easy Guide
You don’t need to be a design expert or run an eCommerce empire to create custom shipping boxes that wow your customers. You just need a plan and a little creativity.
Let’s get into it.
How To Make Your Own Custom Boxes and Save on Shipping?
Custom boxes don’t have to be expensive. In fact, if done right, they can save you money especially when you’re shipping items in odd shapes or sizes. Let’s learn how to make a custom shipping box out of cardboard
Step 1: Measure your item and your padding
Start with the basics: size. Place your product on a flat surface. If you’re adding bubble wrap, foam, or any protective padding, include that in the measurements.
You want the final box to fit snugly. Not too tight. Not too roomy. Extra space means extra shipping cost and potential damage.
So grab a ruler or tape measure and note down the length, width, and height of the item with padding. These numbers will guide everything else.
Step 2: Sketch before you slice
It’s just a guide for how your box will fold up. Draw out the base and flaps, and label the fold lines.
Your side flaps should be the same height as your item. For the top and bottom flaps, add half the item’s width to make sure they close neatly. This might sound small, but planning on paper helps you avoid mistakes when cutting. Think of it like blueprinting a mini structure.
Step 3: Cut your cardboard template
You can use any clean, sturdy cardboard. Flatten old boxes or use shipping sheets.
Lay the cardboard on a safe cutting surface (a spare box underneath works well) and cut out your shape using your sketch as a guide.
If you’re making more than one box in this size, this template will save you time later.
Step 4: Score the fold lines, don’t slice them
To fold your box easily, you’ll need to score along the fold lines. A simple box cutter works but just don’t cut all the way through.
Use a ruler to keep your lines straight. Press lightly to create a crease so the cardboard bends without tearing.
Optional tool: a perforation cutter. It’s a small investment, but useful if you plan to make a lot of boxes.
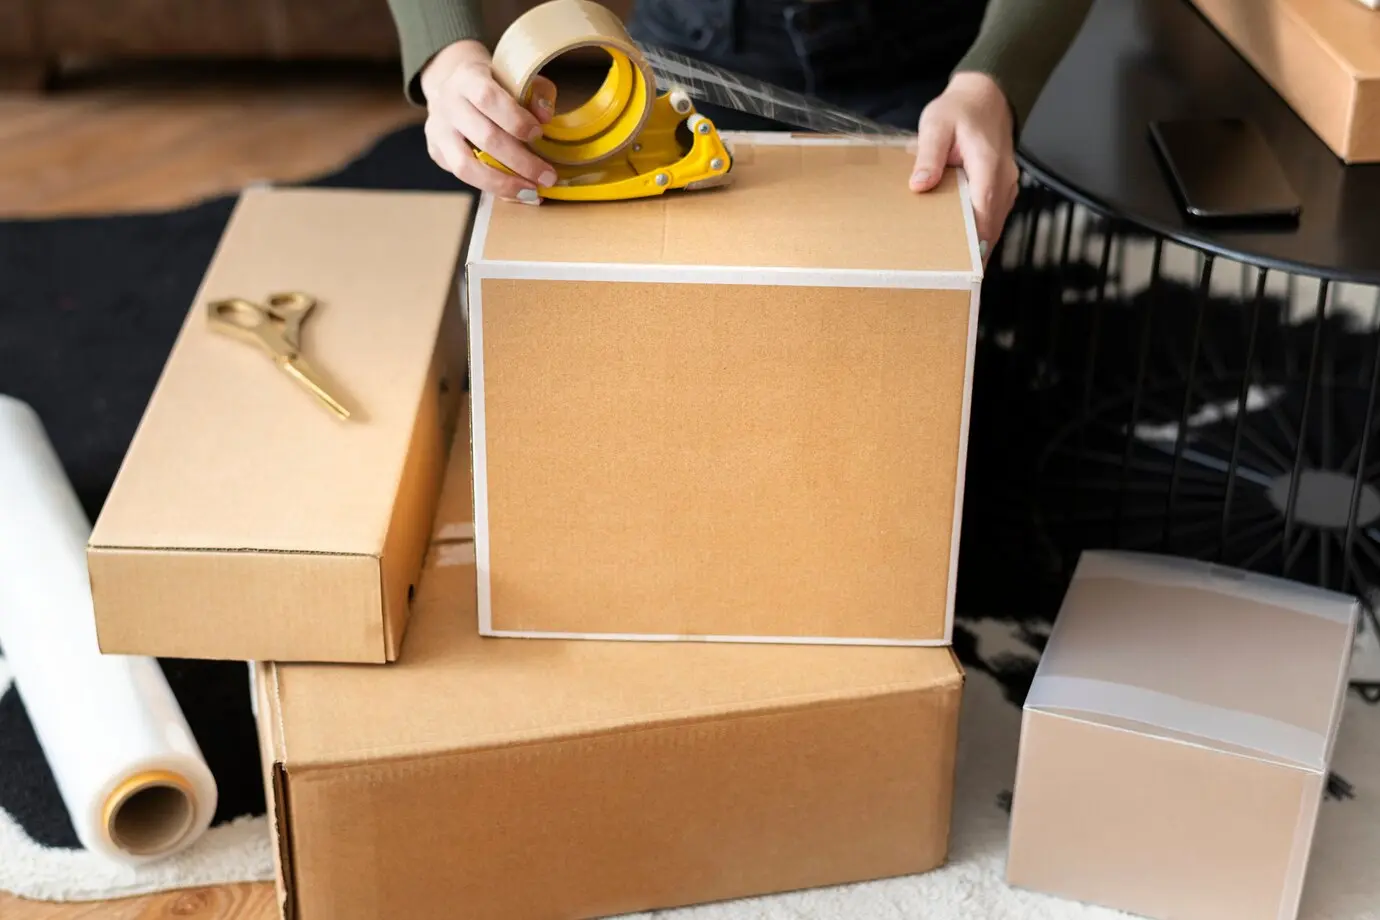
Step 5: Tape it up and secure it
Now, fold along your score lines and bring the box together.
Use strong packing tape to secure the seams. Start by taping one end lightly to hold things in place, then seal all sides tightly. If any padding sticks out, just tuck and tape.
And that’s it, your box is ready to go.
Bonus tip: Making your own boxes means you can control the size. That helps cut down on dimensional weight charges — something many businesses overlook. Smaller, tighter packaging often equals lower shipping costs.
In a Nutshell
Making your own custom shipping boxes isn’t complicated and it can save you money. Measure your item (with padding), sketch a simple layout, cut your template, score the folds, and tape it up.
It’s a practical way to get the right fit, reduce shipping costs, and add a personal touch to your packaging.
Also read Where To Find Free Packing Boxes?
FAQs
How to make a large box for shipping?
Use large, sturdy cardboard sheets or repurpose existing boxes. Measure your item (plus padding), sketch out a custom template with flaps, cut it, and score the fold lines. Reinforce the seams with heavy-duty packing tape to handle the weight.
Can I find DIY shipping box templates online?
Yes, you can. Many websites offer free printable templates and box calculators. These are especially helpful if you’re new to box-making or need specific dimensions. Just make sure to adjust the template to fit your item size.

Jennifer James
My specialty is developing cost-effective, attractive, and appropriate packaging for protecting products. I am working with the company to design custom packaging that meets the client’s requirements.