How Do You Make Paper Boxes?
Some people throw paper away. Others turn it into something useful.
If you’ve ever held a sturdy little paper box and thought, “I could never make that”, think again. You don’t need fancy tools, expensive materials, or a design degree. All it takes is a sheet of paper, a few folds, and a bit of patience.
Let’s keep it simple, practical, and actually doable.
How To Make Professionally Looking Packaging Boxes With Paper?
You don’t need a factory setup to create paper boxes that look professional. With the right approach, even handmade boxes can have that clean, premium feel you see in branded packaging.
Here’s how to get there:
Choose the Right Paper Stock
This is where quality starts. Standard printer paper won’t hold shape well or give that crisp finish. Go for cardstock, kraft paper, or textured paper—something thicker but still foldable. Aim for at least 200–300 GSM for good structure.
Use a Template (Don’t Eyeball It)
Freehand folding leads to uneven edges. Instead, use a box template, there are plenty online, or you can create your own using basic dimensions. Precision is what gives boxes that clean, symmetrical look.
Score Before You Fold
Scoring the paper (using a bone folder or even the back of a butter knife) helps create sharp, professional creases. It also prevents the paper from cracking or warping along the folds.
Stick with Clean, Minimal Designs
Less is more. Neutral colors, clean lines, and a centered logo or label can elevate your box from “DIY” to “deliberate.” If you’re branding your boxes, use subtle, high-contrast printing or simple stickers, avoid overcrowding with graphics.
Use Double-Sided Tape or Glue Sparingly
Excess glue can ruin the look. Use just enough to hold the structure together. Double-sided tape works best for a neat finish with no visible adhesive.
Finish With a Custom Touch
Want to go the extra step? Try embossing, a ribbon tie, or a branded stamp. These small elements can make a handmade box feel like a premium product, without overcomplicating things.
How To Make a Box With a Lid With Paper
Making a paper box with a lid isn’t as complicated as it looks. You just need two square sheets, one slightly larger than the other.
Here’s the basic process:
Start with the base
Take one sheet of paper and fold all four corners toward the center to form creases. Then fold the edges inward, unfold, and cut along two opposite corners. Fold up the sides and glue or tape them into a box shape.
Now the lid
Use a second sheet that’s about 2–3 mm wider than the base. Repeat the same folding steps. Because it’s slightly larger, it will fit snugly over the bottom box.
Add structure
If you want a sturdier lid, layer the inside with an extra piece of card or reinforce the folds with double paper.
This two-piece setup gives you a clean, functional box with a proper lid—perfect for gifting, packaging, or storing small items.
How To Make a Rectangular Box Out of Paper
Most paper boxes are square, but if you need to fit something longer, a rectangular box is the way to go. It’s just as easy, with a slight tweak in measurements.
Here’s how to make one:
Pick your paper size
Use a rectangular sheet, like A4 or any custom size. The longer side will define the length of your box, while the shorter side sets the width and height.
Mark out the dimensions
Lightly draw a grid on the paper based on your desired box size. You’ll need six panels: bottom, top flaps, and side walls. The layout should look like a long “T” or cross.
Score the fold lines
Use a ruler and blunt edge to score along the fold lines. This gives you crisp, straight folds. key to a clean finish.
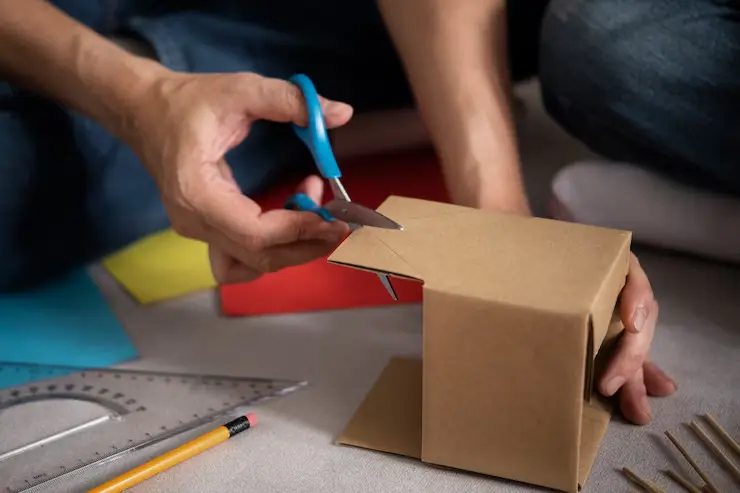
Cut and fold
Cut along the edges of the flaps where necessary. Then fold the paper along all the scored lines to shape the box.
Glue or tape it together
Secure the side flaps inside the box using glue or double-sided tape. Hold until set. And that’s it, you’ve got a custom rectangular box.
Want it to feel more “packaging-ready”? Reinforce it with a second paper layer or line the inside with contrasting paper for a sleek look.
In a Nutshell
Making paper boxes isn’t just a craft, it’s a skill you can actually use. Whether you’re creating simple storage, unique packaging, or thoughtful gift boxes, the process is simple once you know the basics.
Choose the right paper, follow clean folding techniques, and add small finishing touches to make your boxes look polished and professional.
Keep it simple. Keep it neat. And let the paper do the talking.
FAQs
How to make small paper squares?
Start with a larger sheet and fold one corner diagonally to form a triangle—cut off the extra strip to get a square. Then, fold and cut the square into smaller equal sections based on the size you need.
How do you stick two papers together without glue?
You can fold and tuck the papers together using origami techniques, or use slits and tabs to interlock them. Staples or paper clips also work if neatness isn’t a concern.
What to use if you don’t have glue or tape?
Try double-folding edges to create pockets, use string to tie papers together, or create slits to slide one paper into another. You can also use a stapler, sewing needle, or even wax if you’re feeling crafty.

Jennifer James
My specialty is developing cost-effective, attractive, and appropriate packaging for protecting products. I am working with the company to design custom packaging that meets the client’s requirements.